Super Famicom / SNES 1CHIP: Why Collectors Hunt It and How to Spot One
The Super Nintendo Entertainment System (SNES) and its Japanese counterpart, the Super Famicom, went through multiple motherboard revisions during their long production run. The most talked-about change arrived around 1995 when Nintendo combined the main CPU and the two Picture Processing Units (PPU1 and PPU2) into a single custom chip. These later boards are known as 1CHIP models (labeled SNS-CPU-1CHIP-01, -02, or -03).

For many retro enthusiasts who care about video quality—especially when using RGB SCART cables, upscalers like the OSSC or RetroTINK, or high-end CRTs—the 1CHIP is the preferred original hardware.
Main Advantages of the 1CHIP
The biggest benefit is video quality.
Earlier “2-chip” (or 3-chip) boards produced a noticeable horizontal blur or soft smear on RGB output. The separate video chips and the way the signal was processed created a low-pass filtering effect. The 1CHIP design eliminates most of that interference. The result is:
- Sharper, cleaner pixel edges
- Better contrast and more defined colors
- Reduced horizontal smearing
- A picture that looks closer to what modern emulation or FPGA cores deliver
This difference is most obvious on RGB connections. On composite or RF the gap is smaller, but RGB is where the 1CHIP truly shines. Many collectors and content creators specifically seek 1CHIP units for cleaner capture and more accurate-looking gameplay on modern displays or high-quality CRTs.
Other practical upsides include slightly lower power draw and a more modern single-chip architecture that generally ages well when capacitors are replaced.
Important Caveats
The 1CHIP is not perfect:
- The stock RGB signal is often too bright, which can cause mild washing-out or ringing. A simple three-resistor mod (750 ohm) usually corrects this.
- Some units show slight ghosting.
- A small number of games have minor graphical quirks (rare top-line garbage or timing differences).
- The final revision (1CHIP-03) does not output composite sync on the multi-out port by default, so you may need a sync-on-luma cable or a small restore mod.
Despite these points, most people who prioritize sharp RGB still prefer a properly adjusted 1CHIP over earlier boards.
How to Identify a 1CHIP Console
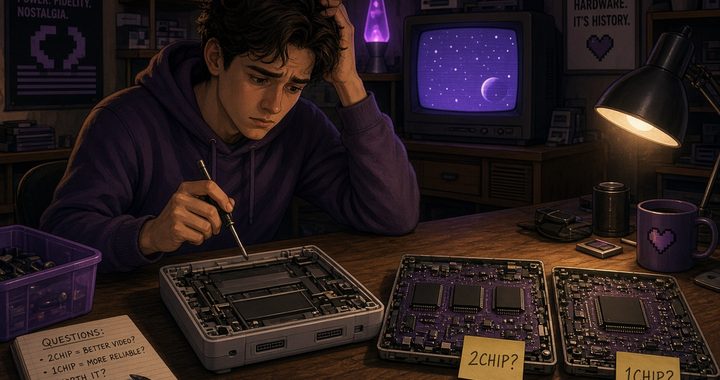
1. Open the console (most reliable method) Use a 4.5 mm Gamebit screwdriver to remove the top shell. Look at the motherboard near the cartridge slot. You should see silkscreen text that clearly reads:
- SNS-CPU-1CHIP-01
- SNS-CPU-1CHIP-02
- SNS-CPU-1CHIP-03
(There are equivalent labels on Super Famicom and PAL boards.) You will also notice one large square chip (the S-CPUN) instead of the separate CPU + two PPU chips found on earlier boards.
2. Serial number clues (North American SNES) Many 1CHIP units carry serial numbers starting with UN3. This is a strong indicator but not 100% proof—case swaps exist. Treat “UN3” as a useful filter when shopping online, then verify by opening the unit if possible.
3. Expansion port check (quick external hint on some models) On the bottom of the console there is a small expansion door. On certain boards you can peek inside:
- Three solder dots usually mean a 2-chip board.
- A partial circular ring or different layout often indicates 1CHIP.
This method is helpful but less definitive than reading the silkscreen.
4. Super Famicom (Japanese) note Japanese Super Famicom units do not have a reliable external serial-number shortcut like the North American UN3 prefix. Opening the console is essentially required for confirmation.
Quick Comparison
| Feature | Early 2-Chip Boards | 1CHIP Boards |
|---|---|---|
| Video Chips | Separate CPU + PPU1 + PPU2 | Single integrated S-CPUN chip |
| RGB Sharpness | Soft / blurred | Noticeably sharper |
| Color & Contrast | More muted / smeared | Cleaner and more vibrant |
| Brightness (stock) | Generally balanced | Often too bright (easy fix) |
| Rarity & Price | Common, cheaper | Less common, higher demand |
| Best For | Maximum compatibility | Best possible RGB picture |
Buying Tips for Collectors
- Ask sellers for clear photos of the motherboard silkscreen. “1CHIP” claims without board photos should be treated cautiously.
- If you plan to use RGB, a 1CHIP-01 or 1CHIP-02 is usually the easiest starting point. The -03 revision needs a bit more attention regarding sync.
- Budget for a capacitor replacement and the brightness resistor mod if you want the best results.
- The later SNES Jr. (SNS-101) also uses the same 1CHIP architecture and can look excellent once RGB is restored, though it lacks some original ports.
The 1CHIP did not change how the Super Nintendo plays games in any dramatic way, but it did give the system a cleaner, sharper video output that many modern collectors value highly. Whether you are building a high-end RGB setup or simply want the best original-hardware picture possible, knowing how to identify and evaluate these late-production boards is one of the most useful skills in SNES collecting.
If you already own a console and are unsure which revision you have, the safest answer is always the same: open it up and read the board.